ONE: YOU FIGHT TO ESCAPE
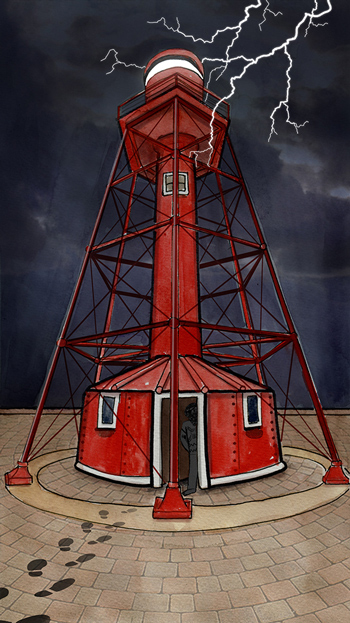
Your hair starts to stand on end and your skin begins to tingle. You look again to the footsteps to find a rippling figure, transparent like water and shot through with trembling veins of electricity, bearing down on you.
From this close you can see the glowing initials ‘RR’ scrawled across Red Riley’s forehead. He reaches out to you with a snarl.
Just as he is about to latch hold, you tear yourself free. Riley’s hand hits the metal wires of the fuse box. There is a loud crack as thousands of volts course into the lighthouse, sending you flying backwards.
From the ground you can see Riley has become pure light, then, with one final flash, he disappears and an Opal falls from where he stood, rolling to a stop on the ground.
Above, the lighthouse is illuminated once again. As you reach down to pick up the Opal, it shimmers with an electrical charge before fusing to the skeleton key chain alongside the gold.
Now to find the ship pieces!
And where better to look for such pieces than from previously docked ships?
McLaren Wharf is nearby. Head to the water’s edge and turn right to follow the seafront around to McLaren Wharf.